
About 10 days ago I sat down and sketched out plans to make a solid-wood king-size platform bed. Today, I assembled the bed in our master bedroom. In my last post about this project, I explained a bit about the project, motivation, materials, and whatnot. So in this post I’ll just focus on the steps I took when finishing up the project.
Sanding, Finishing, & Assembly
I sanded all surfaces using progressively smoother sandpaper. I started with 80 grit, next used 150 grit, and finished with 220 grit. I didn’t bother sanding the 2×4 frame and slats since they were going to be under the mattress anyway, but all other surfaces received this same sanding sequence.
Once I had sanded all surfaces I used Minwax pre-stain wood conditioner to prepare the wood for staining. I waited 24 hours and then sanded the entire project again using 220 grit sandpaper.
Next I swept all surfaces clean with a clean paint brush and then vacuumed all surfaces using my shop vac. I was ready to start staining.
The stain we used was an oil-based product from Varathane that we purchased at Home Depot. If you’re interested, the color we used was Espresso. I applied the stain with a brush covering just a small portion at a time, no more than I could stain in about 5 minutes, and then wiped off any excess stain using a rag.
Once I had stained the entire project (except for the 2x4s and slats), I waited about 24 hours and then coated all surfaces with a thin coat of Minwax oil-based fast-drying clear satin polyurethane. I debated applying a second coat, and according to all the advice I could find online I probably should have, but we ultimately opted to stick with just one coat. If I were coating something that would get more direct contact, such as a table or chair, I’d have applied a second coat, but we really didn’t want a shiny heavy-build finish, so we stuck with one coat.
We gave the poly about 36 hours to dry before moving the bed up to our bedroom where I assembled it in place this evening. I’ll let the pictures tell the rest of the story.
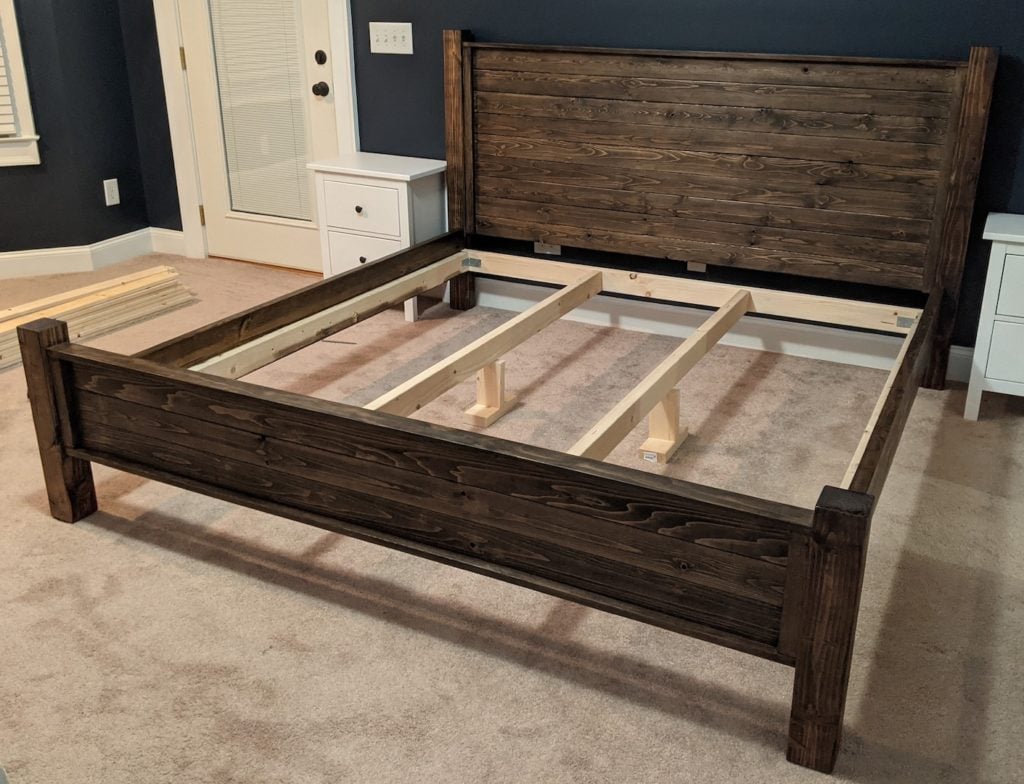
Here you can see the 2×4 frame that the slats rest on. I also made to simple supports out of 2x4s to provide additional support under the center of the bed. 
Here you can see the corner construction. The 2x4s are screwed together with 3″ screws and the corners are reinforced with steel L-brackets. Three pocket screws attach the rails to the posts. 
Here are the slats in place, ready for the mattress. 
Mattress in place. 
A closer look at the footboard and one of the side rails.